
When we sit in front of a screen for hours, our breathing gradually becomes shallower without us even noticing. The shoulders slump forward, the back curves, and the chest compresses. If you try to take a deep breath through your mouth or nose right now, you might feel tightness in the center of your sternum or between your ribs, as if you were wearing a vest that is one size too small. This feeling of restriction is not caused by the lungs themselves, but by the tissues and joints that surround them.
The rib cage is not a rigid bony box, but a flexible structure designed to expand in all directions. When the muscles around the ribs lose their elasticity, the amount of air that can enter is mechanically reduced. By restoring the chest's range of motion through targeted stretches, we allow the diaphragm to function properly and the lungs to make full use of their available space.
Why Does the Chest Tighten After Long Hours at the Computer?
Why exactly do we feel this heaviness in the chest after a typical office workday? The answer lies in our posture and how our tissues adapt to immobility. As our arms stay extended toward the keyboard and mouse, the pectoralis major and minor muscles remain continuously shortened. After 6 or 8 hours in this position, fascia, the connective tissue network surrounding the muscles, starts to lose hydration and becomes stiffer.
Think of the rib cage like an accordion. To produce sound, it needs to be able to open wide and close completely. When we slouch, we forcefully keep the accordion half-closed. The back muscles, which would normally pull the shoulder blades back to open up the ribs, become overstretched and inactive. At the same time, the anterior neck and chest muscles adapt to the shortened length, creating ongoing tension that resists every deep inhale.
This mechanical pressure forces the body to alter its breathing pattern. Instead of using the diaphragm, the primary breathing muscle at the base of the ribs, we start breathing shallowly into the upper chest, relying on the accessory muscles of the neck and shoulders. This habit not only strains the neck, but also keeps the chest in a state of persistent stiffness, as the lower ribs remain almost motionless.
The Anatomy of the Rib Cage: Ribs That Move Like Bucket Handles
To understand how to stretch the chest properly, it helps to see how it is structured. The rib cage consists of 12 pairs of ribs, which connect at the back to the thoracic spine. In the front, most ribs connect to the sternum via flexible cartilage. Between each rib lie two layers of muscles, the internal and external intercostals, which regulate the space between the bones during breathing.
In biomechanics, rib motion is often described using two simple everyday analogies: a bucket handle and an old water pump handle. The upper ribs move primarily upward and forward, like a pump handle, increasing the distance from the sternum to the spine. The lower ribs, from the seventh to the tenth, move outward and upward, just like the metal handle of a bucket lifts when picked up.
| Anatomical Structure | Mechanical Motion | Effect on Breathing |
|---|---|---|
| Upper ribs (1st to 6th) | Pump-handle motion | Increases the anteroposterior diameter of the chest |
| Lower ribs (7th to 10th) | Bucket-handle motion | Increases the transverse (lateral) diameter of the chest |
| Intercostal muscles | Contraction and lengthening | Opens and closes the space between the ribs |
When one of these mechanisms becomes restricted due to poor posture, the total volume of air intake per breathing cycle decreases noticeably. If the intercostal muscles have stiffened, the bucket handles cannot lift. Stretching these muscles restores this range of motion, allowing the ribs to expand outward again by 2 to 3 cm with every full inhale.
Standing Intercostal Muscle Stretch
This exercise directly targets the tissues between the ribs and can easily be performed right by your desk. The goal is not merely to bend your torso to the side, but to use your breath as an internal lever that stretches the muscles from the inside out.
- Stabilizing the base: Stand with your feet shoulder-width apart. Cross your right foot behind your left, keeping both feet firmly planted on the floor. This locks the pelvis and prevents twisting of the lower back.
- Raising the arm: Raise your right arm straight up toward the ceiling, keeping your shoulder away from your ear. Your left hand can rest on your left hip for support.
- Lateral flexion of the torso: Exhale slowly and gently bend your torso to the left side, forming an arch-like curve. Take care not to lean forward. Your chest bone must face straight ahead.
- Activating the stretch through breathing: Hold this position for 4 full breath cycles. On each inhale through the nose, imagine directing the air exclusively into the right side of your ribs, feeling the spaces between them open up. With each exhale, allow your body to soften a bit more into the position.
- Resetting and switching: Slowly return to the starting upright position and repeat the same process for the left side, crossing your left foot behind your right.
During this exercise, you might notice that one side feels tighter than the other. This is completely natural, especially if you always use your mouse with the same hand. Perform 3 repetitions for each side, focusing on steady, calm breathing without sudden movements.
Using a foam roller to open the thoracic spine
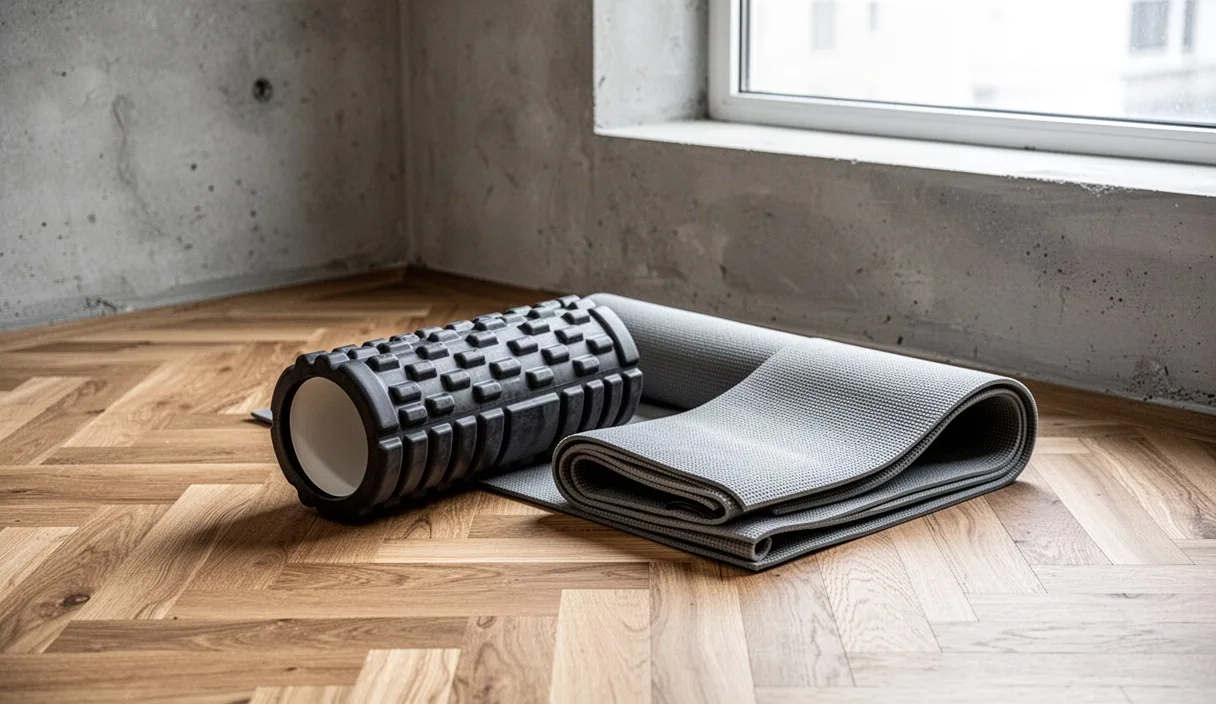
The foam roller is an excellent tool for mobilizing the thoracic spine. While the lumbar spine (the lower back) requires stability, the thoracic spine is designed for extension and rotation. When this section stiffens into a hunched posture, the entire front rib cage remains trapped in flexion.
To perform the exercise safely, place the roller on the floor and sit in front of it with your knees bent and your feet flat on the ground. Slowly lie back so that the roller rests against the middle of your back, just below the shoulder blades. Never place the roller on your lower back or neck, as these areas lack the structural support of the ribs.
Interlace your fingers behind your head to fully support the weight of your skull and avoid straining your neck. Keep your elbows turned slightly inward. From this position, take a deep breath in, and as you exhale, allow your upper back to arch backward over the roller, opening your chest toward the ceiling. Keep your glutes firmly planted on the floor.
Hold the extension point for 3 breaths. Feel your sternum lift and the front structures of the rib cage lengthen. Next, gently raise your torso, roll your body down by 3 to 4 cm so the roller shifts slightly higher on your back, and repeat the extension. Avoid rapid back-and-forth rolling; focus on small, static extensions at 3 distinct points along the upper back.
A two-minute daily flexibility check
How can you tell if your rib cage is maintaining its mobility or beginning to stiffen dangerously? There is a very simple self-assessment that takes less than two minutes and gives you immediate feedback on your breathing mechanics.
Sit on a stable chair without leaning against the backrest. Place your palms on the sides of your rib cage, right over the lower ribs, with your thumbs pointing back and your fingers pointing forward. Exhale fully through pursed lips, feeling your ribs draw inward and your fingers come closer together.
Now, take a slow, deep breath in through your nose to a count of 4. Observe what happens under your palms:
- Normal flexibility: Your hands should move visibly outward to the sides by at least 2 cm on each side, without your shoulders lifting toward your ears.
- Restricted movement: If you notice your hands moving only upward or barely forward while your shoulders and collarbones shrug upward, your rib cage is experiencing stiffness in the lower ribs.
- Asymmetric movement: If one side presses against your hand more than the other, there is a likely muscular imbalance along the spine or intercostal muscles.
If you repeat this check immediately after performing the stretches described above, you will notice a clear difference in how easily your ribs push your hands outward. This instant shift demonstrates how quickly the nervous and muscular systems respond to proper mechanical input.
Common mistakes during chest stretches
When trying to open the chest, it is easy to compensate by using the lower back instead of the rib cage. Because the lumbar spine is naturally much more mobile, the body tends to take the path of least resistance. This leads to excessive arching in the lower back under the mistaken belief that the chest is stretching, which can result in lower back discomfort.
Another frequent error is holding your breath. Many people move into the stretch and clench their teeth or stop breathing while waiting for the time to pass. This sends a distress signal to the nervous system, causing the muscles to guard and tighten even further. Breathing should remain fluid and effortless throughout the entire movement.
Finally, applying excessive pressure or pulling the head with your hands can strain the cervical vertebrae. Placing your hands behind your head serves only as a supportive cushion and never as a lever to push the body beyond its natural limit.
Next practical steps and precautions
To see real improvement in your breathing quality, consistency matters much more than duration. Instead of dedicating 30 minutes once a week, fit a quick 3-minute break into your workday. Try doing the standing side stretch every time you get up to drink water, and save the foam roller for the end of the day, before dinner.
Notice how you feel after these small interventions. Your breathing should feel deeper, fuller, and require less effort from your neck and shoulders. Over time, this expanded range of motion becomes your new baseline, helping reduce fatigue and tension built up in the torso.
If you have a history of cellular vitality, a herniated disc, or a recent rib injury, or if you feel sharp pain, numbness, or dizziness while performing any exercise, stop immediately. These instructions are strictly educational and do not replace an individualized clinical evaluation. In cases of persistent pain or breathing discomfort, always consult a qualified physical therapist or your doctor before starting new mobility exercises.